
Good day, fellow DIY IP jockeys.
If you recently received a USPTO Notice of Allowance (NOA) for an intent-to-use trademark application and need to file a 6-month extension, this guide is for you.
A while back, I navigated the not-so-lovely UX labyrinth that is the USPTO trademark filing process. Recently, I had to return to extend the “intent-to-use” status of one of my trademark applications while continuing to shop the underlying IP around to potential licensors.
The good news?
The actual extension-filing process ended up being far less painful than expected—and the USPTO confirmed my extension within less than 24 hours of submission, which was a very pleasant surprise. Despite this, I had to stay locked in because there were several UX “pitfalls” along the way that I hit and quickly backed out of and ultimately worked around.
Rather than rant too hard about government UX/UI today, I figured I’d save my fellow indie creators some time and friction by documenting the exact steps I took to successfully file a:
Request for Extension of Time to File a Statement of Use (SOU)
Whew… quite the mouthful, for sure!
Quick Context:
Why This Matters
This scenario applies if:
• you filed a trademark under an intent-to-use basis
• your trademark is not yet actively being used in commerce
• you received a Notice of Allowance from the USPTO
• you need more time before filing your Statement of Use
In my case, I had:
• secured the domain
• built the website
• designed the branding
• begun pitching & having licensing discussions
But the mark still didn’t qualify as “in use in commerce” under USPTO standards. So the intent-to-use route made the most sense.
The tradeoff?
You must periodically file extension requests while continuing toward commercial use.
Currently:
• extensions are filed every 6 months
• up to 5 extensions are allowed
• total extension timeline caps out at roughly 3 years
So definitely factor that into your broader IP strategy.
This Is What I Did:
Filing an SOU Extension
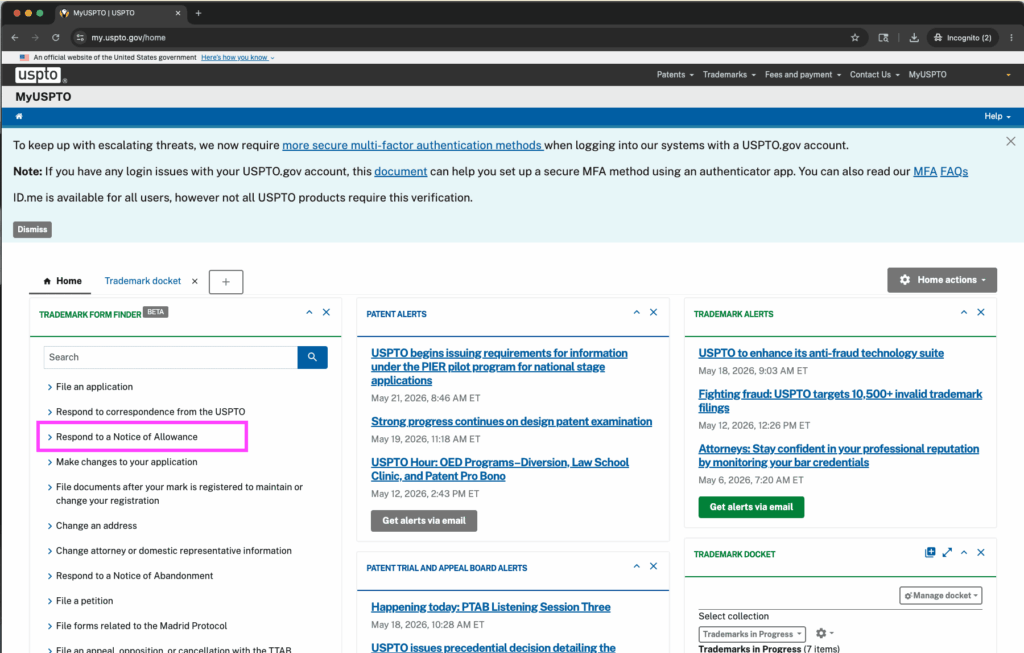
Step 01 — Log Into USPTO
Log into your MyUSPTO account:
• Navigate to the Trademark Form Finder
• In the left sidebar, click: “Respond to a Notice of Allowance”
This applies if you received an NOA for an intent-to-use application.
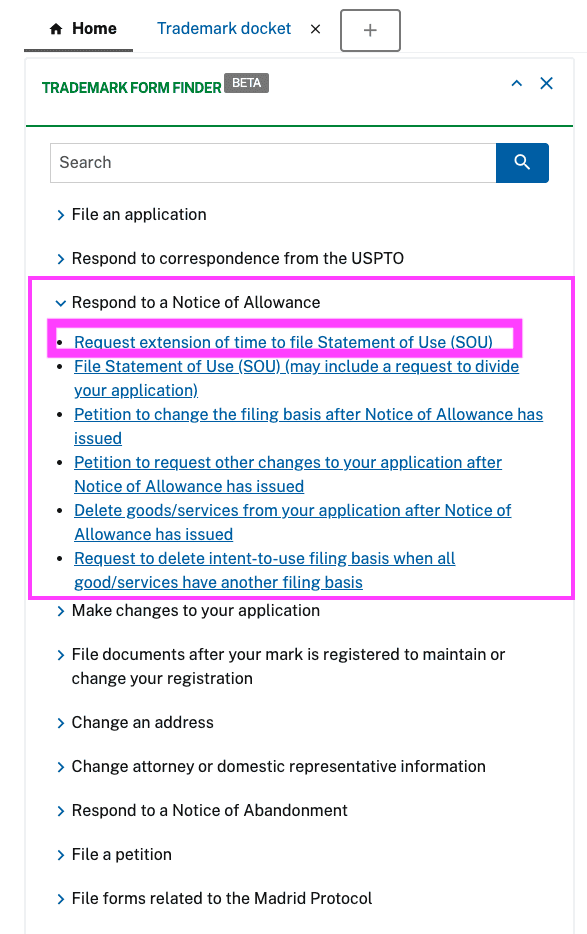
Step 02 — Respond to NOA
From the dropdown options, select:
“Request extension of time to file Statement of Use (SOU)”
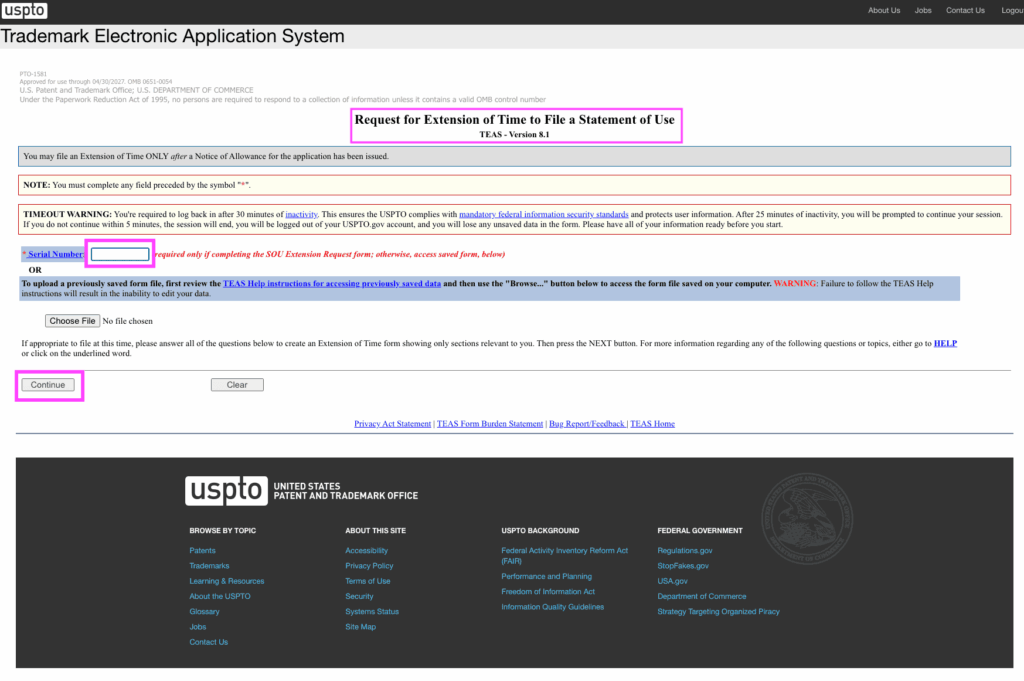
Step 03 — Enter Trademark Serial Number
You are now inside the “Request for Extension of Time to File a Statement of Use.”
From here:
• Enter your trademark serial number
• Click [Continue]
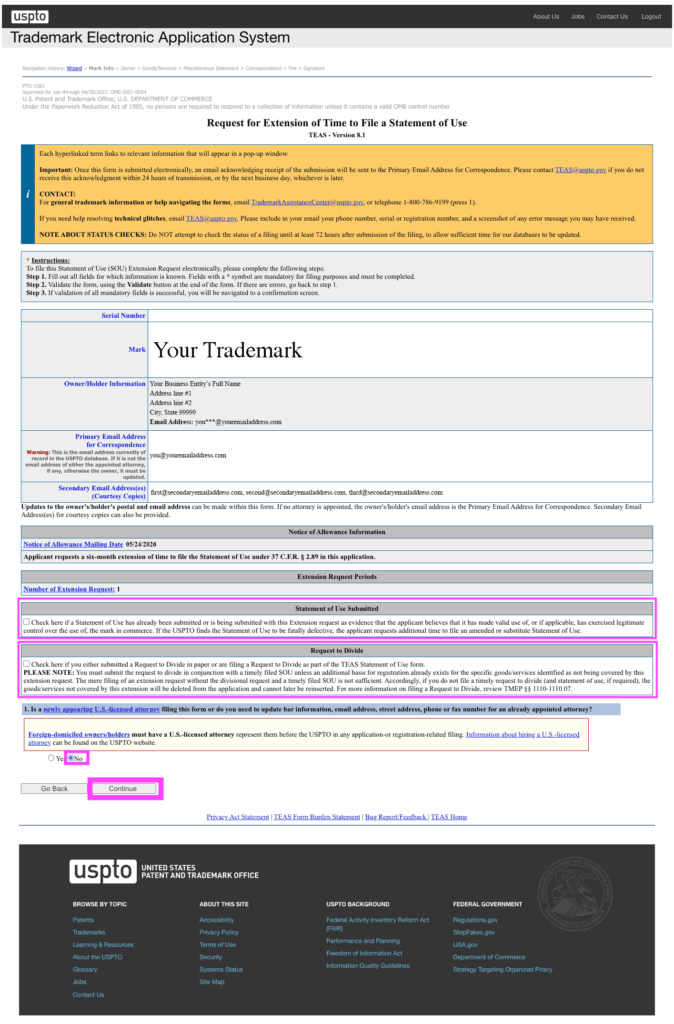
Step 04 — Mark Information
This is for you if this is your first extension filing and you have not yet submitted a Statement of Use:
• Statement of Use Submitted → Left unchecked
• Request to Divide → Left unchecked
• Foreign-domiciled owners/holders → “No”
My Selections:
Then click [Continue].
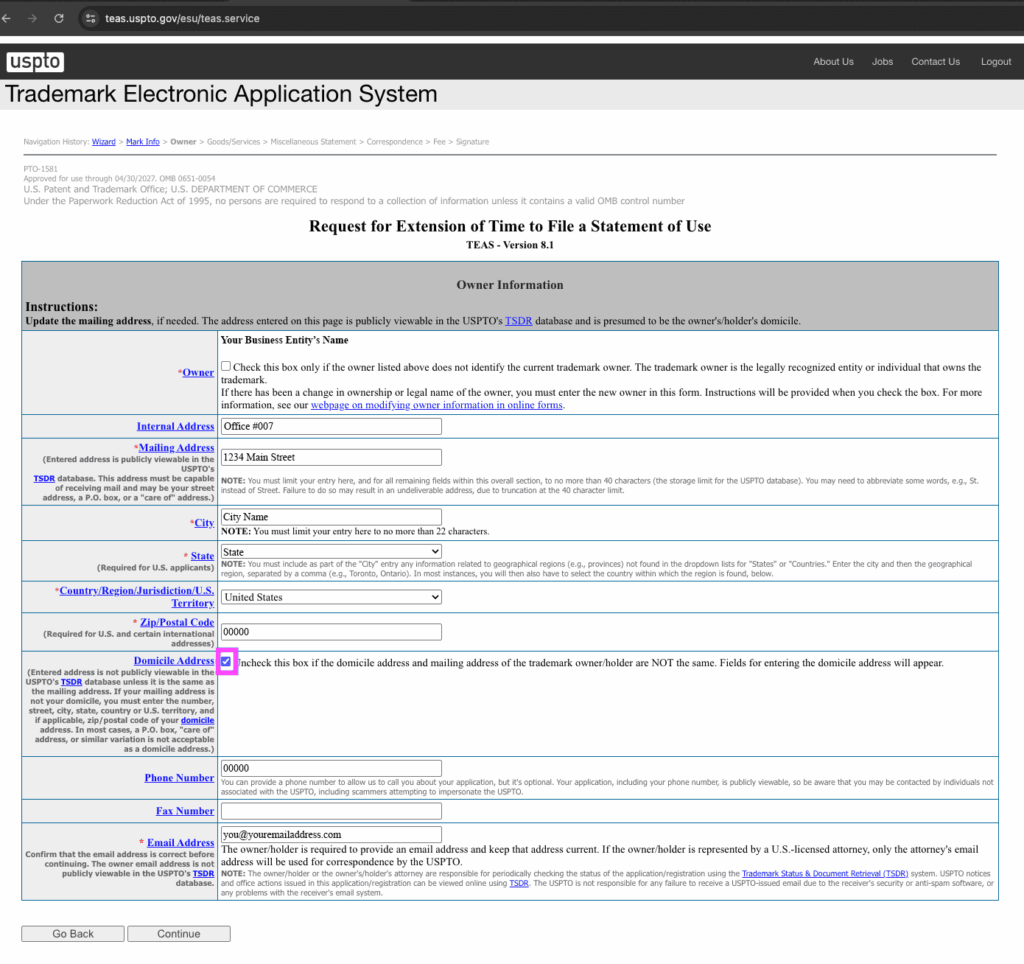
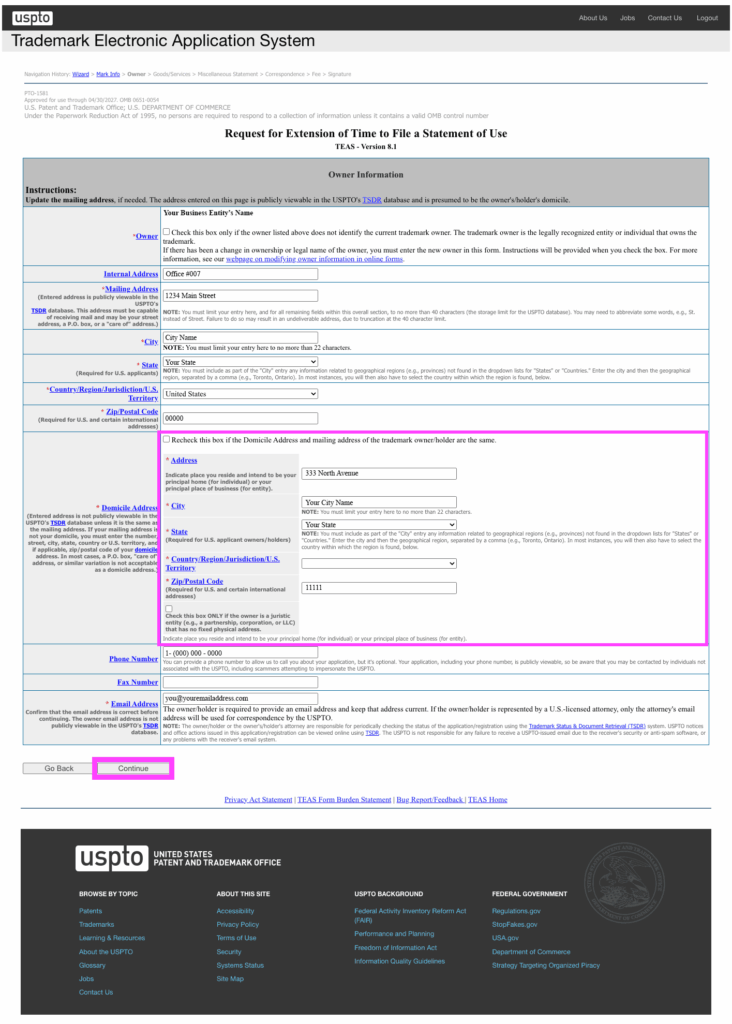
Step 05 — Owner Information
Review your information carefully.
In my case:
I added my home address under the “Domicile Address” section because it differed from my business address.
Once verified:
click [Continue]
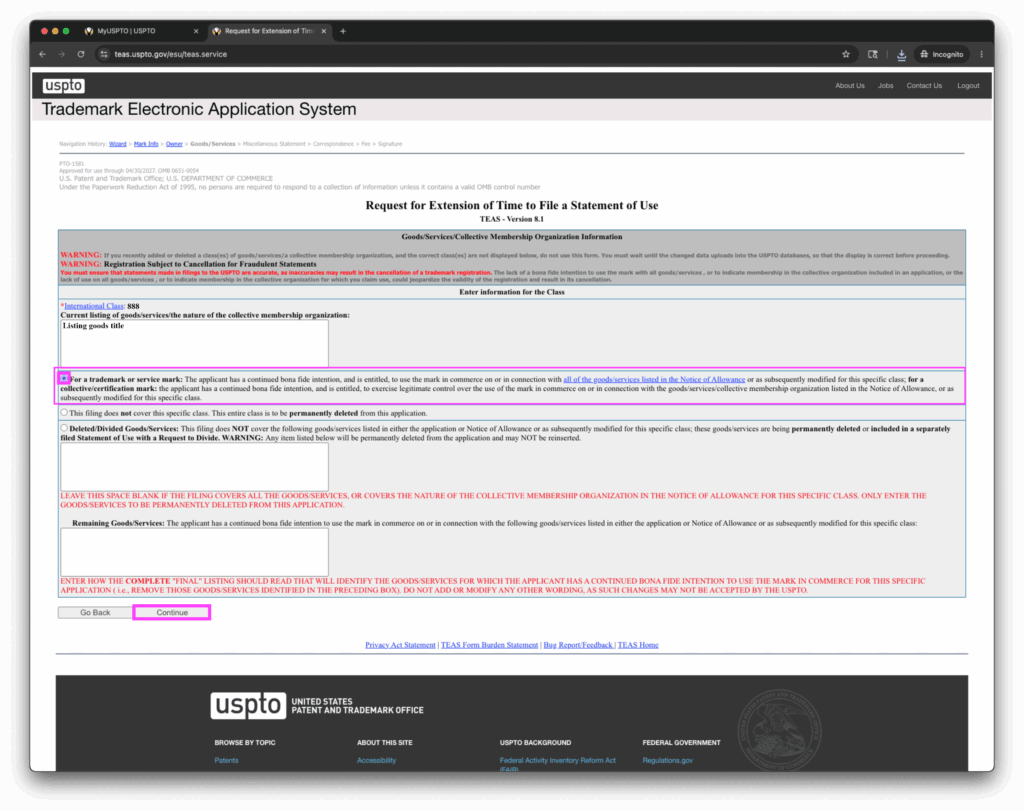
Step 06 — Goods & Services
This page looks scarier than it actually is.
For my filing:
• the International Class information required no edits
• “For a trademark or service mark” remained selected
• everything else stayed blank
Then:
click [Continue]
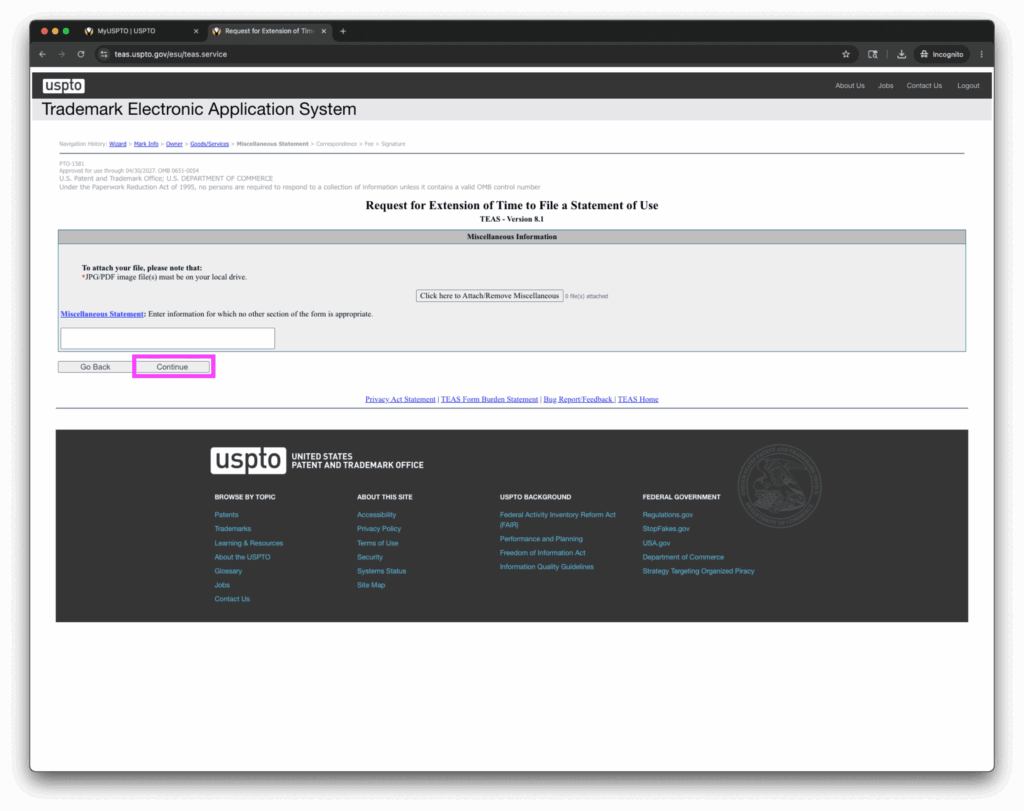
Step 07 — Miscellaneous Statement
In my case, I did not need to:
• enter a miscellaneous statement
• upload attachments
• provide additional explanations
Your mileage may vary.
Click [Continue].
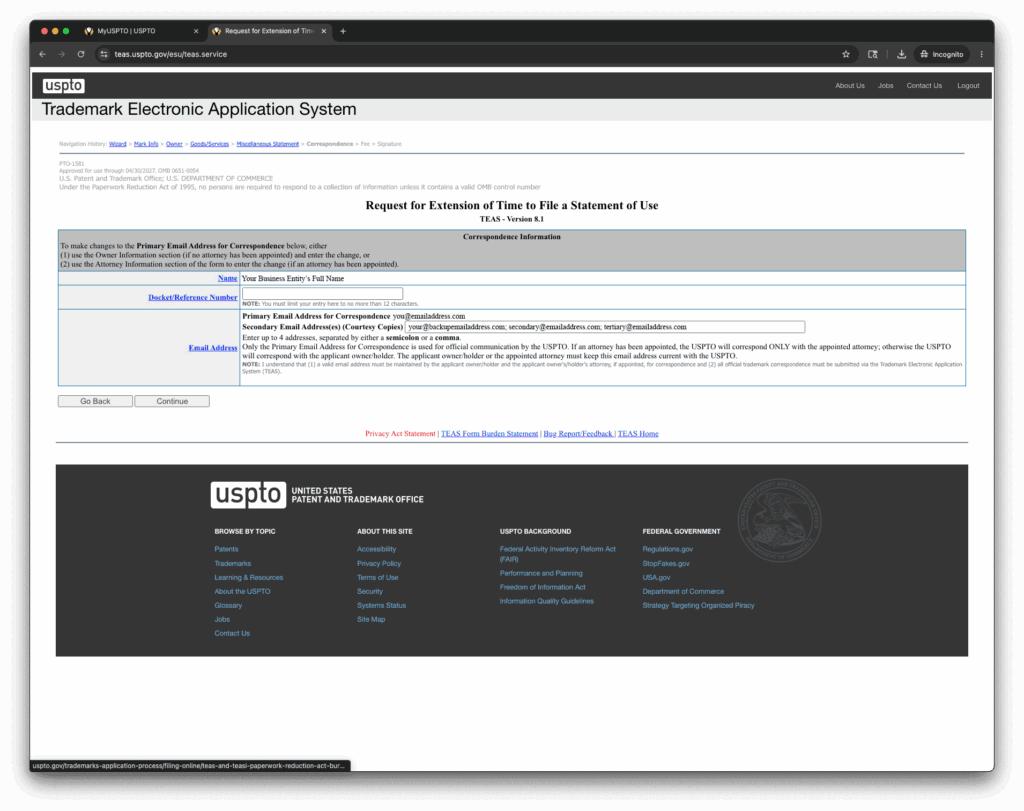
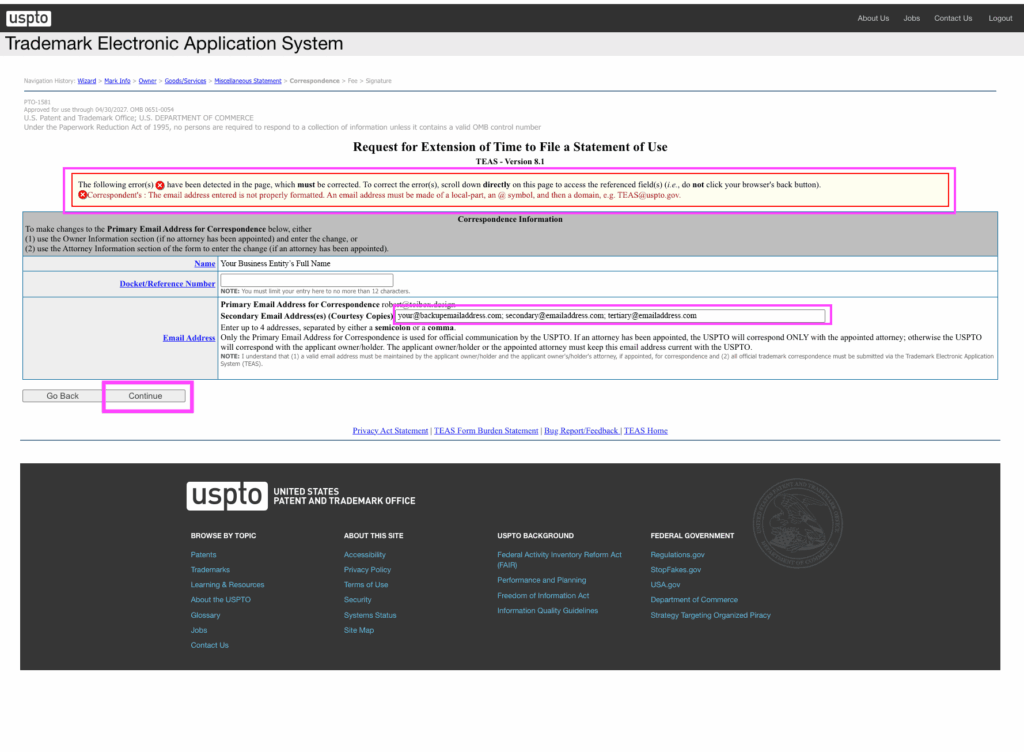
Step 08 — Correspondence
A small hiccup happened here for me.
The system auto-filled an incomplete email address, which briefly caused confusion during validation.
So:
• double-check all email fields carefully
• ensure addresses are complete and correct
I left “Docket/Reference Number” blank.
Then:
click [Continue]
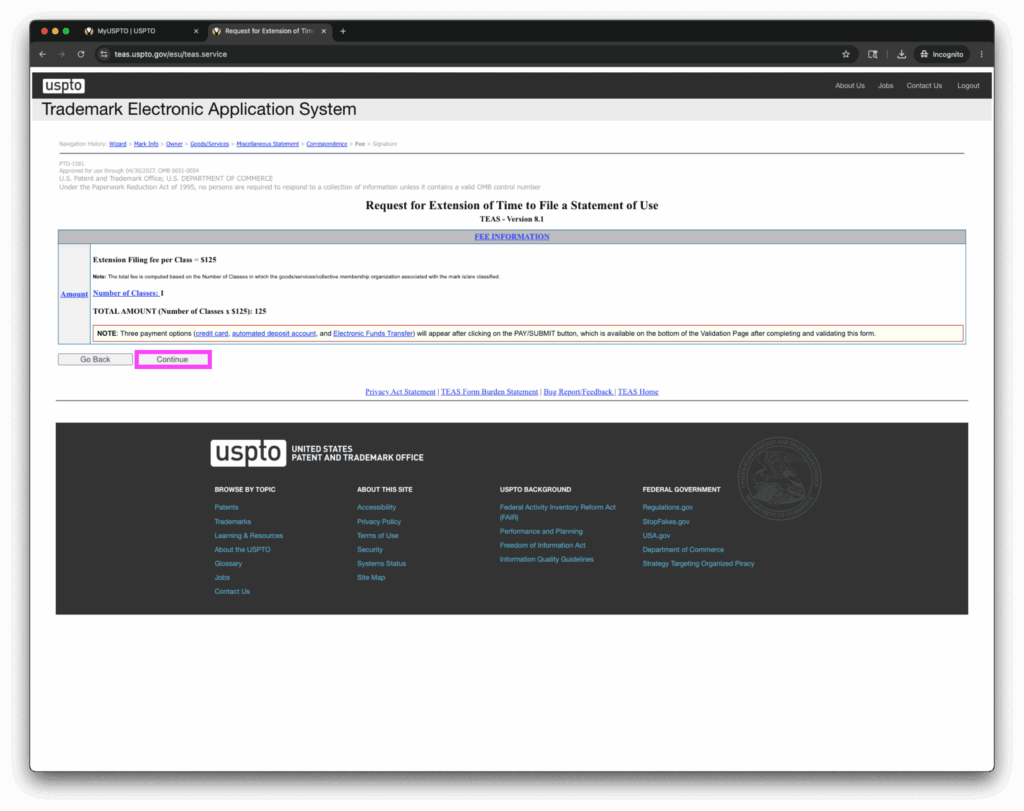
Step 09 — Fee Review
This screen summarizes your filing fees.
In my case:
• $125 per class
• I only had one class
Then:
click [Continue]
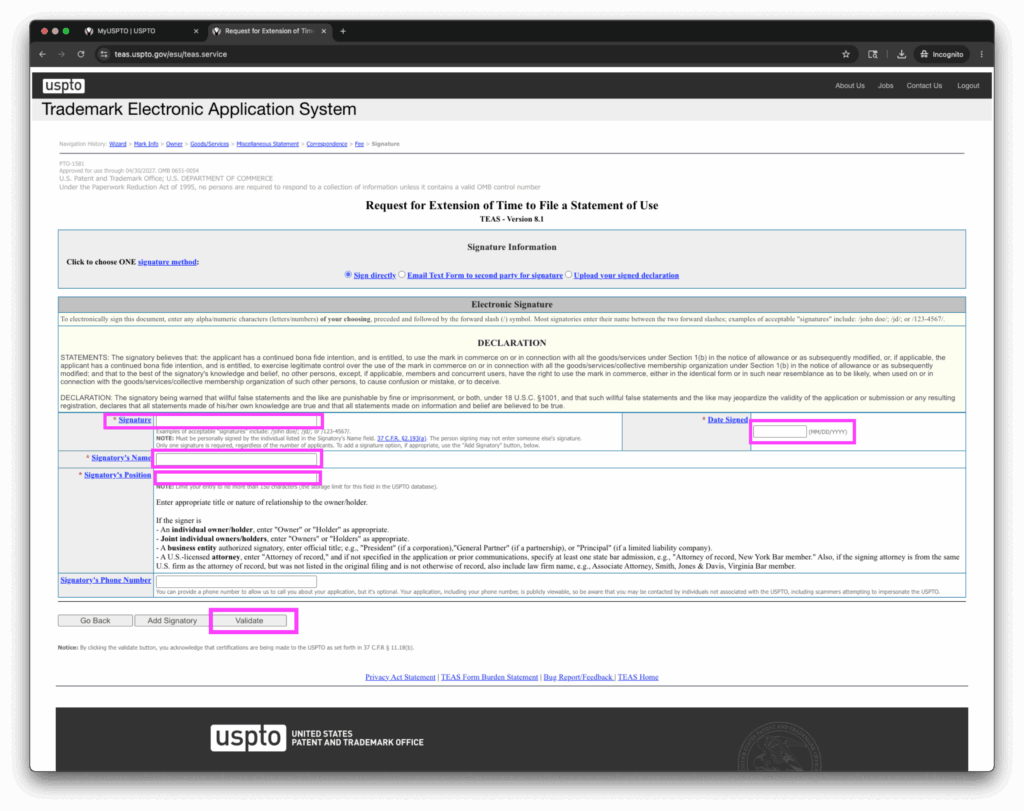
Step 10 — Signature
This step contains a bit more nuance than the others, so I do recommend reading the instructions carefully despite the visual fatigue.
Here’s what I did:
• Signature field: /Firstname Lastname/
Then I Entered…
• Date Signed
• Signatory Name
• Signatory Position
I skipped:
“Phone Number.” Note that it’s optional and publicly visible.
Then:
click [Validate]
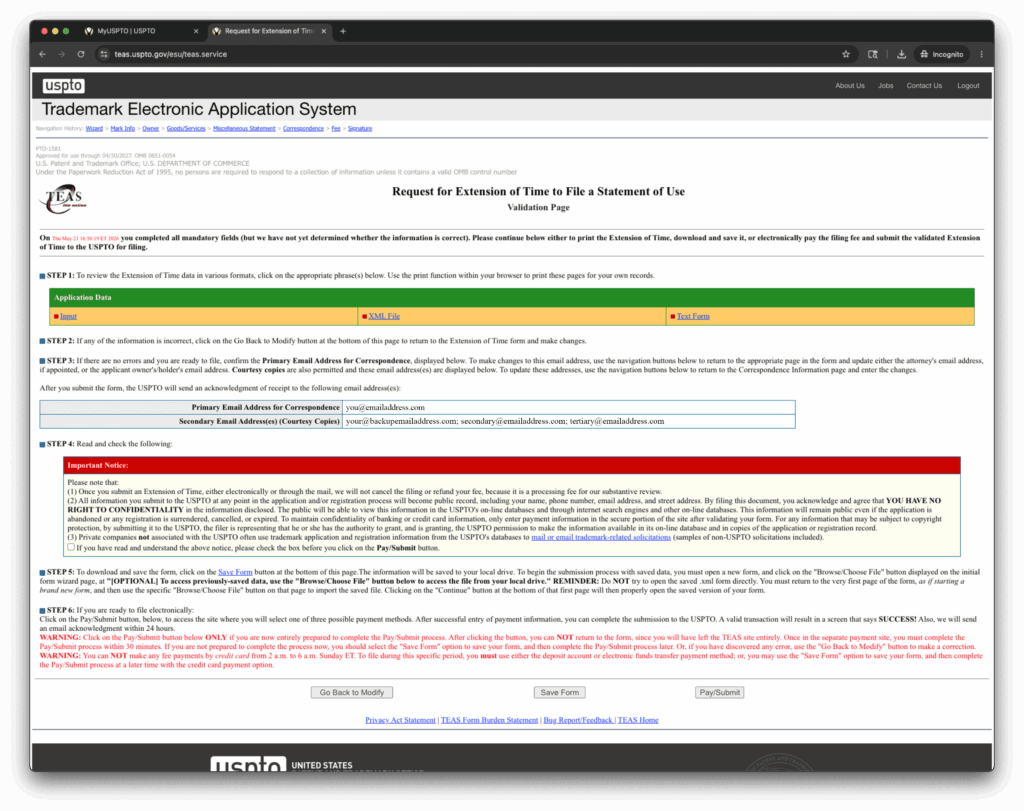
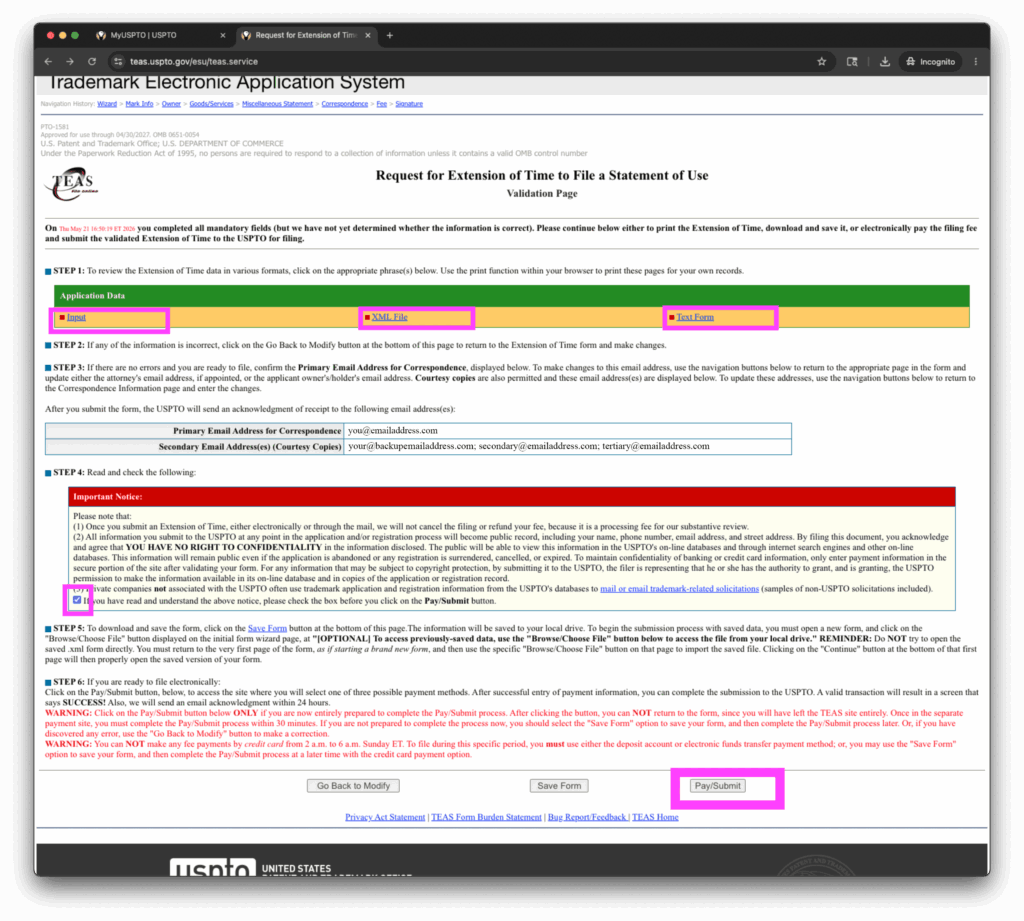
Step 11 — Validation & Submission
We’re almost done.
From here:
• review the application carefully
• save backup copies of the application
• verify your email addresses
• read the notice section
• check the acknowledgment box
Then:
click [Pay/Submit]
Step 12 — Payment & Record Keeping
Complete payment.
After submission:
• save your confirmation
• print or archive your records
• organize everything for future renewals if needed
And that’s it. Mission accomplished!
Go relax and invest your saved time wisely, young grasshopper. ;B
Final Thoughts
Despite some rough UX edges, the process ended up being much smoother than expected once broken down into smaller steps.
Hopefully this helps save a fellow creator some time, stress and unnecessary friction.
More DIY IP field notes to come in the future.
—BiBiBi ;B